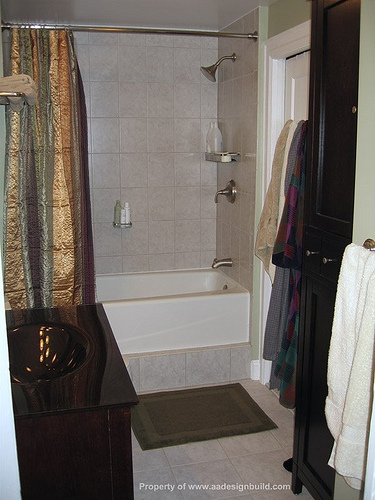
A lot of planning must go into building a shower stall. This project is not something you will finish in a matter of minutes. No matter what the size of the shower is, you need to be patient when working on it.
Required Tools and Materials
Shower fixtures (shower head and control)
Pencil
Plumb level
Tape
Plumber’s tape
Screws
Electric drill
Silicone caulk
Hole saw
Adhesive
Tape measure
Synthetic shower surround
Measure the available space before you order the shower surround. The corner shower stall is best for limited spaces. Make sure the stall dimensions are proportional to the ceiling and available space.
Step 2
Check if the area needs to have new flooring installed. If it does, install it before putting in the shower stall.
Step 3
Go over the installation guide before you start building a shower stall. This will vary per product. Next, put the shower pan in place. Place the pan above the drain. This will be on the sub-floor or the concrete. Make sure to apply shower adhesive on the pan.
Step 4
Put the first panel in place. Put the adhesives on the back panel corners and sides. Put the adhesive in the middle and set it against the wall. Use the tape to keep it in place.
Step 5
Get the mixing valve center measurement. Use this as a guide for the shower fixture holes. Use this figure for the panel that will conceal that part. Use the saw on the panel.
Step 6
Add the other shower panels. The number will vary, but they are all applied using adhesives. Make sure to press the panel after sticking it.
Step 7
Use the adhesives to affix the corner trims. Put the caulk in after the adhesive has dried.
Step 8
Drill holes for the base plate. Make sure the base plate is in position before fastening it into place. Add the side plates.
Step 9
Add the glass panel enclosures. Carefully fasten the glass into position. Be certain it is tight. Put some rubber piping to tighten the enclosure.
Step 10
Put on the top plates. You can make the glass seams waterproof by putting in silicone caulking.
Step 11
After the adhesives and caulk dry, put in the control knobs and the shower head. Apply plumber’s tape so the shower head does not leak.
Building a shower is something a single person can do. But if is large, consider getting some help. Assistance may also be required when putting in the glass panel.


