
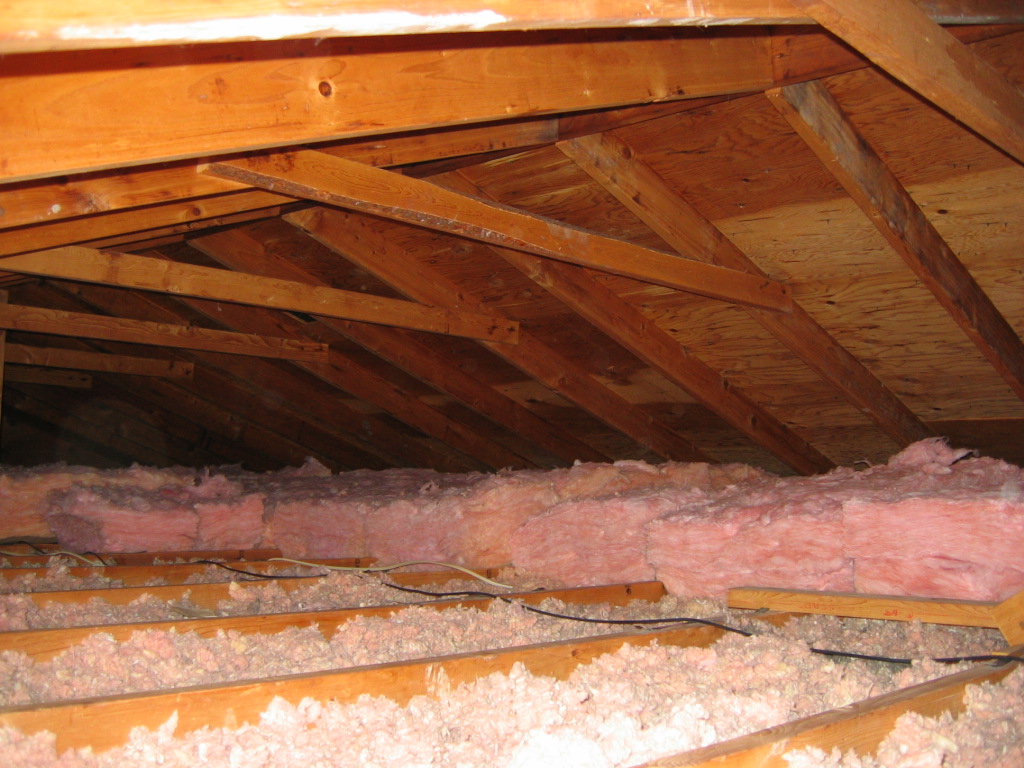
This blown in insulation installation is for the attic. You will need to prepare the following materials before you begin.
Required Tools and Materials
Ladder
Utility knife
Staples
Hammer
Duct tape
Flashing
Protective goggles
Dust mask
Cardboard Baffles
Loose fill insulation
Insulation blowing machine
A helper
Measure the attic and determine the R value. This will be R-30, R-38 or R-49. It may vary depending on your location. Purchase the appropriate insulation.
Step 2
Put on protective goggles and a dust mask. Make sure the recessed lights have flashing installed. Leave an open space of about 4 inches of flashing to the light.
Step 3
Get the knife and slice the flashing to the appropriate length. Shape this into a cylinder. Fasten the edge with some duct tape.
Step 4
Put this over the recessed light. Set aside a four inch space. Repeat the same procedure for the vented portions of the bathroom or kitchen.
Step 5
The next step for the blown in insulation installation are the baffles. Set this into place with the staple hammer. Place them where the roof rafters intersect with the ceiling joists. Set up the baffles only above the vents.
Step 6
Slice some baffles four inches over the insulation. Staple this on the hole.
Step 7
Get someone to help you load the insulation blowing machine.
Step 8
Begin on the farther parts of the attic. Move back and forth to ensure that everything is smooth and level. Do not fill up any recessed light parts or vents.
It helps if you utilize a measuring tape. For instance, if you are putting in R 38 fiberglass insulation, the measurement can be 16 inches deep. Ask your helper to remove the excess hose if it is in the way.
Step 9
Step the machine when you get to six feet from the hole.
Step 10
The last step is to put a piece of batt insulation at the access hole. Put the attic opening lid on.
Tips and Warnings
Make sure you have the right amount of materials before you start. These instructions assume that you have cave vents, bathroom and ceiling fans and recessed lights. Since this project can take a while, you should take breaks.
Blown in insulation installation can be a complicated process if the right process is not used. The instructions given above should help you perform this task more easily. If you are just starting out, make sure you have someone to help you.
