Creating your own homemade jewelry makes for a fun activity that you can do with friends and family. You can create your own necklace and bracelets in very easy steps and these will be great to give away to loved ones as gifts for special occasions, especially during the holidays.
Materials for most homemade jewelries are very affordable plus with a bit of creativity, you can even use recycled materials.
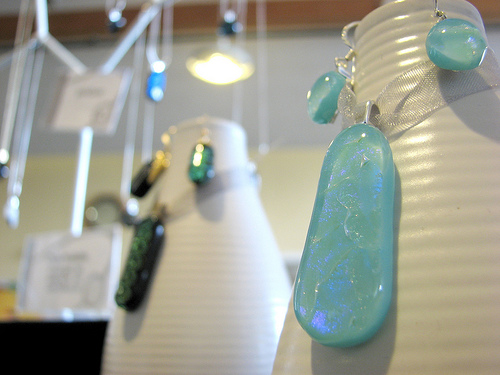
Homemade Jewelry
Recycled Bracelet
Materials:
Old buttons
Beads
Nylon or wire string
Jewelry clasps
Jewelry Pliers
Procedure:
1. Cut your string to the bracelet size that will fit you or the person you intend to give the bracelet to. Make sure that you leave enough allowance for the clasps.
2. Insert the string through your buttons and beads in alternates. You can choose to start with one bead first and then one button next or vice-versa whichever you prefer.
You may also do your own design.
3. Once you have placed the number of beads and buttons that you want, you can attach then attach the hook part of the jewelry clasps to one en of our string and then the eye part of the clasp to the other end.
Secure both clasps by twisting the wire several times on each end of the bracelet. You will need to use your jewelry pliers for this.
On the other hand, if you are using a nylon string, you can simply make a knot at each one of the bracelet to secure the clasps.
In three simple steps, you have created your very own homemade bracelet.
Beaded Necklace
Materials:
Your choice of beads
Pendant of any shape or size
Jewelry string beading wire
Jewelry pliers
Procedure:
1. Cut the string to the size of necklace that you want. Make sure that you have about an inch or two of extra length for the clasps.
2. Insert the wire through your pendant. Make sure that it sits in the center of the string as you wouldn’t want it to look lopsided once you are done with your necklace.
3. Insert your beads one at a time. If you are using several types of beads, you may want to create a pattern for how each bead will be placed through the string.
It is best to insert the beads on each side in alternates. Meaning as you insert one bead through the left side of your necklace, you also insert one bead through the other side right after.
This way, you can check if your design is still symmetrical.
4. After you have placed all the beads that you want, attach the clasps to each end of your necklace. Secure the clasps by twisting the wire on both ends.
You now have your very own beaded necklace, with a decorative pendant, too.
Note: Materials such as beads, clasps, jewelry pliers and strings can be easily purchased at any crafts store.