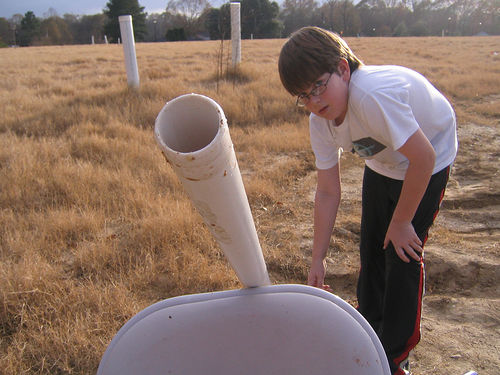
If a BB gun or a paintball gun just doesn’t pack enough bang, it may be time to break out the heavy artillery. In the fight for fun, the potato cannon is the perfect weapon of mass distraction, and it’s relatively easy to assemble.
To build a potato cannon, one will be needing 2 PVC pipes (one with a 2” diameter and a length of 2’, and the other being 3” in diameter and 1’ long), a threaded 3” PVC slip, a 3” end cap, a 3” to 2” reducer, PVC cement, a barbecue lighter, 2 drywall screws, a power drill, a dremel tool, a 2’ dowel, hairspray, and of course, potatoes.
The 3” PVC pipe will serve as the potato cannon’s combustion chamber, which can range in length from 6” up to 1’. The potato gun’s barrel will be made out of the 2” PVC pipe. Decide on what the length of the combustion chamber and barrel will be and cut the pipes accordingly. One should consider that, similar to an actual firearm, having a long barrel greatly improves accuracy, but the force is reduced the longer the barrel is. The ideal length for the barrel would be 2’, but one may experiment with the size if they prefer to do so.
The next step in building a potato cannon is to attach the chamber and the barrel. Serving as the chamber, the end of the 3” PVC pipe is to be attached to the 3” end of the reducer using the 3” PVC slip. Then, the reducer’s other end is attached to the 2” pipe.
To set up a spark, the drywall screws are screwed into the 3” PVC on parallel sides of the combustion chamber, right in the middle of each end. They should be screwed-in in such a way that a small distance remains between their tips inside. The BBQ lighter is then attached to the screws’ ends, basically acting as the potato cannon’s trigger. If a spark appears when it is tested, then the screws are in working order. But if there is no spark, the screws should be moved even closer together within the chamber. Continue testing until the screws are at a distance conducive to sparking.
Apply the PVC cement in sealing around the 3” PVC and the 3”-2” reducer. Do likewise around the 3”-2” reducer and the 2” PVC, as well as around the screws. Make sure that the cement seal is airtight, and give the cement enough time to dry up.
Bevel and sharpen the end of the potato cannon’s 2” barrel using either a dremel tool or even an ordinary file. This is so the potato is cut down to size when it is being loaded into the barrel. Additionally, the potato juice extracted in the process will enable it to be fired much easily.
To serve as the potato cannon’s propellant, it is advisable to use hairspray as it is easily available and inexpensive, but one may use pure propane as well. In adding the propellant to the combustion chamber, take note that there should also be a good air mixture to make combustion take place. The end cap is then placed on the end of the 3” PVC, while the 2’ dowel serves as the muzzle loader, pushing the potato into the barrel’s other end. And with that, the potato cannon is armed and ready for deployment.


