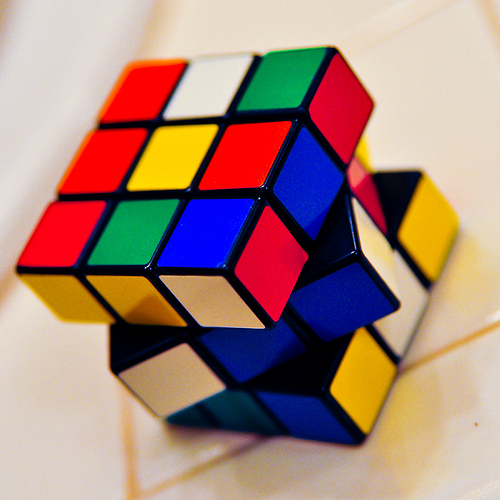
It’s complicated enough trying to solve a Rubix Cube. But when the cube gets broken, that’s an even bigger set of complications to deal with. The steps in how to fix a Rubix Cube are quite intricate and somewhat tedious. Fixing the cube would perhaps take about the same amount of patience, perseverance and dexterity needed in solving it.
To repair a broken Rubix Cube, one will need to have replacement Rubix Cube parts on hand and some plastic cement. The first step is to gather as much of the broken cube pieces as can be found and use the plastic cement to glue them back to their original form. Once the glue has dried up, smoothen any bumps or roughness with a fine grade file, clean up the parts, then apply silicone for lubrication.
Look for the 4 pieces that have a single white surface, then hook and slide these pieces into the central placements at one side of the sphere-shaped core. This side will then be turned to the bottom in order to sit the core onto the white surfaces. Next, get the 4 pieces that have a single green surface, which will likewise be hooked and slid to the center positions, but this time on the core’s side that faces to the south. Then slide the one-sided blue pieces to the central position opposite to the core’s side facing the north.
Slide the 4 one-sided yellow-colored pieces on the core’s top side. Then, assemble the 2 pieces with the yellow and green-colored surfaces in the top edge’s central lower section. Next, assemble the 2 pieces that have yellow and blue-colored surfaces in the top edge’s upper central section. Slide the 4 one-sided red-colored pieces on the core’s side which faces the east.
Assemble the 2 pieces that have red and white-colored surfaces in the red side’s central lower section. The 2 pieces with the red and yellow-colored surfaces are then assembled in the red side’s upper central section. Then, place the 4 corner pieces with the red-colored surfaces in their proper placements on the red side so that each of the cube’s sides will have their own respective colors. The 2 pieces that have red and green-colored surfaces are next inserted into the border between the red side and the green side, and the 2 pieces with the red and blue-colored surfaces are inserted into the border between the red side and the blue side.
Slide the one-sided orange-colored pieces into the core’s side which faces the west. Assemble the 2 pieces that have orange and white-colored surfaces in the orange side’s central lower section, and then assemble the 2 pieces that have orange and yellow-colored surfaces in the orange side’s upper central section. Place the remaining 4 orange-surfaced corner pieces in their proper placements on the orange side, again in order to maintain the respective colors on each of the cube’s sides. The 2 pieces that have orange and green-colored surfaces are inserted into the border between the orange side and the green side, and the 2 pieces that have orange and blue-colored surfaces are inserted into the border between the orange side and the blue side. Finally, check whether the Rubix Cube is in good working condition by spinning the sides.