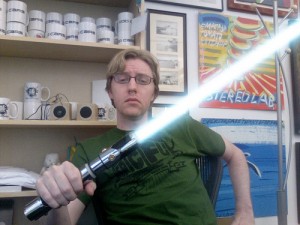
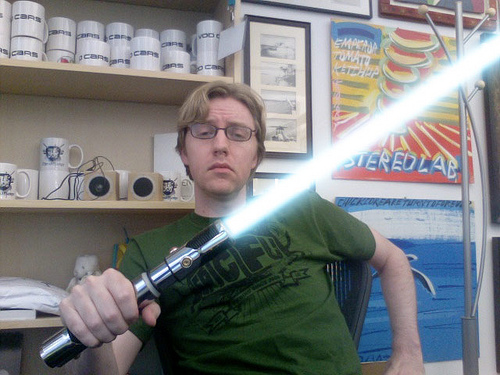
The trademark weapon of the Jedi Knights, the lightsaber isn’t just limited to the sci-fi realm. In fact, it is possible for any die-hard Star Wars fan to learn how to build a lightsaber replica of their very own.
To begin building a lightsaber, saw a chrome tube measuring 12 to 14 inches, leaving a 1/4-inch space at the tube’s end. Then, insulation is wrapped around the tube as farther up as is preferred to accommodate one’s grip.
Next, a PVC end cap with both a length and diameter of 1 1/4 inches is cut in half. One of its halves is then placed at the end of the tube where the space had been left. The cap’s other half is then placed on the top of the tube, and screws are inserted to lock the caps in position.
A slot as long as a large LED is cut into the chrome tube, and a couple of holes are drilled for the 2 nickel-plated caps to be put in later. The tube’s ends are cut on matching angles, and the metal is de-burred using a knife.
Take a D-ring, pull its ends apart, and then slip an eye bolt on each of the ends. Then, press the D-ring’s ends closed, and screw the corresponding plastic-lined locking nuts on the eye bolts.
The end cap is then removed, and 2 holes are drilled into it adjacent to the sides. The eye bolts’ ends are placed in the cap’s holes, attached with an 11/16-inch diameter fender washer, and secured with 2 lock washers and 2 hexagonal nuts. The end cap is removed for later reassembly.
The PVC end cap is removed and dipped into black latex paint. Let the excess paint drip off first before the cap is hung up to dry. Do the same to a PVC ring and a 2-inch long PVC coupler. Wait 14 to 24 hours for the paint-dipped PVC’s to dry, and then apply a second coat of paint. Try attaching the painted pieces after 1 day.
Glue the 2 nickel-plated caps onto the chrome tube using epoxy. One of the caps is placed close to the front, near the diagonal PVC pipe, and the other cap can be placed anywhere one would desire.
Take a 10-LED power bar and use a dremel to rough up its bottom and the chrome tube onto which one wishes to put it. Then, use epoxy to attach it just ahead of the grip.
Get a 1 1/16-inch diameter electron tube, and remove its metal pins and plastic base. A thin coat of epoxy is then painted on the tube, after which it is inserted into the saber’s front, positioned where the tube’s end and the 10-LED power bar are aligned.
To add the light effects, a small hole is drilled into the section of the chrome tube where the switch will be mounted. The hole’s size will depend on the switch’s. The AAA battery pack’s positive side is attached to the switch’s connector, and a wire is run from the second connector to the LED’s positive lead. A wire is placed from the LED’s negative lead to the battery pack’s negative side. Try the switch out. If it isn’t working, the leads may have been reversed.
Bare wires should be insulated with electric tape. The LED assembly is then slid into the chrome tube and the switch is slipped in the hole made for it. The battery pack is slid into the tube at the back of the LED assembly, and the rear assembly is replaced and firmly screwed on.