DIY plumbing can get your plumbing system working properly without having to pay for expensive services of professional plumbers. Whether you want to fix leaking pipes or install isolation valves on your pipes, you can easily do these by yourself.
You might even be surprised at how easily these things can be done! While plumbing work may seem overwhelming especially to a newbie who has never tried any do-it-yourself plumbing, minor plumbing repairs can be done even by DIY beginners.
DIY Plumbing
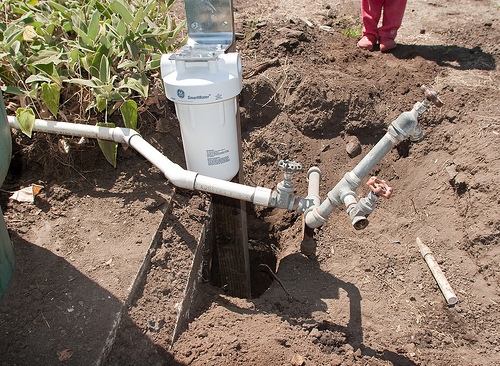
Installing Isolation Control Valves
Isolation control valves make it easier to stop the water supply from pipes connected directly to specific fixtures around the house such as your sink in the bathroom and kitchen, and toilets.
The isolation control valves will enable you to work on specific pipes for repairs or replacements without having to cut off the entire water supply in your house. There are basically two types of isolation control valves: one without a handle and one with a handle.
Whichever type you choose, the same installation process enumerated below will work for both.
1. Check the direction of the valve. First, you must determine the direction that your valve needs to be facing in order to have it working properly. There usually is an arrow that will indicate this.
Typically, the arrow should follow the direction by which water flows through the pipe.
2. Measure the valve size against the pipe. It is important that you do not exceed the size of the valve when cutting a portion of the pipe where you will be installing the valve.
To get the right measurement, place your valve against the pipe and mark the areas where you will be cutting. Make sure that you mark the pipe based on the sides of the valve before the start of the thread where you will be screwing the nuts to.
3. Cut the pipe section and then insert the nuts through each end of the pipe. Next, insert the olives through each end of the pipe.
4. Now slip each end of the pipe through the valve. Again, you need to make sure that the arrow on the valve is pointing to the right direction. Screw the nuts to the valve first by hand and then tighten these with the use of pliers.
Note: It is important that you first shut off your main water supply before installing your isolation control valves so you won’t have water gushing out of the pipes after you have cut off a portion of it to fit the valve into.