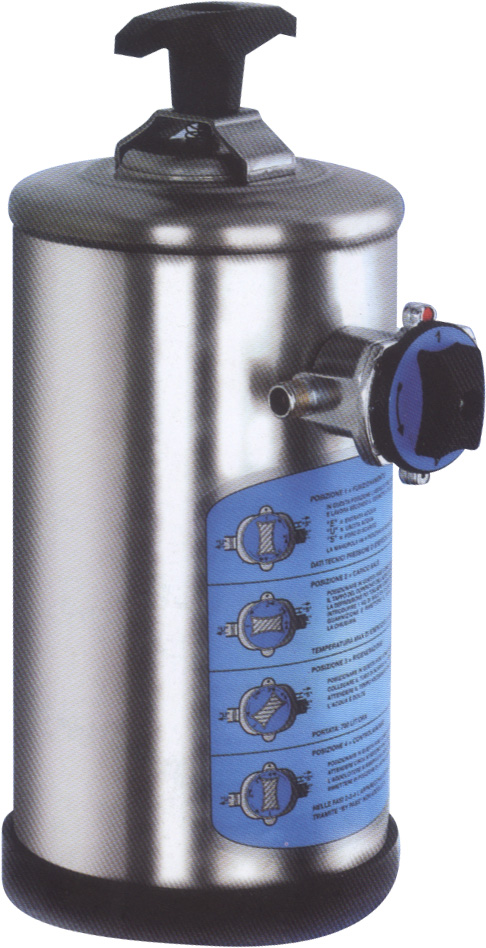
Do you notice scales or water spots on your shower heads, fixtures, faucets, and even on your dishes? This simply means that you have hard water running into the house that causes all those stains. To solve such a problem, you will need to install a water softener.
Why Install a Water Softener?
There are various reasons why you should install a water softener. Other than preventing stains on your dishes and scales on your shower head and door there are money saving benefits to them as well. Scaly sediment that builds up in your heater’s tank increases your energy consumption. It also erodes your tank and shortens its usable life.
When scales accumulate in your pipes they usually end up clogging them. Installing water softeners also make you use only half the amount of detergent you usually use. Hard water does very little to dissolve soap thus making you use more detergent.
How to Install a Water Softener
Required Items: Service manual, sodium or potassium chloride softener, softener resin, lubricant, funnel, gravel, file/sand paper, masking tape, drain, flexible tubing, three-pronged ground outlet, extension cord, water softener.
Installation
After you have all the necessary items to install a water softener you are now ready to begin installation. The first step is to open the box the softener came in and read the service manual. Next step is to turn off the main shutoff valve for your house’s water. Turn off the electricity going into your water heater.
After that you should open all faucets and other plumbing fixtures both inside the house as well as those outside. You want to drain all the water in all the pipes. Position the water softener in the area you want to install it on. Make sure you are installing it on a section of the house that is usually dry and level.
Take the distributor line and plug it into the mineral tank. Make sure that the top open end is flush with entire tank. At this point rest the screen intake at the bottom located at the center. Tape up the distributor tube to keep things from getting in.
If your water softener came with gravel now is the time to pour it into the screen intake. After that add in the resin, which should eventually fill about half of the tank. Once you’re done seal the distributor tube with tape. Now you have to attach the top basket to the underside of the control valve. After that you have to connect it to the mineral tank. When you’re done, attach the head into the tank and tighten the valve.
Finally, you need to connect the water supply line by attaching the bypass valve to the control valve. Connect the water connections of the softener to the bypass valve as well. Affix the plastic tubing to the brine tank and then run it all the way to the drain. Fill the brine tank with its specified amount of water and attach your control valve. Now it’s time to add the sodium/potassium chloride. Next, set the bypass valve to its service position and the softener to backwash. Open the water supply valve to allow air to run off from the drain. Now it’s time to open the water supply and check for any leaks.


