If you want to save on the cost of computer equipment then you have to learn how to build a computer step by step. It will not only save you some money but you can customize your computer system to your very own needs. You no longer have to purchase a piece of equipment that has features that you don’t really need that just jacks up the price.
Tools
You need a few simple tools to get all of this done. You’ll need a Philips screwdriver. You will also need a light source such as a flashlight, looking into a computer case really does block off the light. You may also need a pair of tweezers in case you drop a screw or some other small component such as a jumper into the case and would need to pick it up.
Hardware
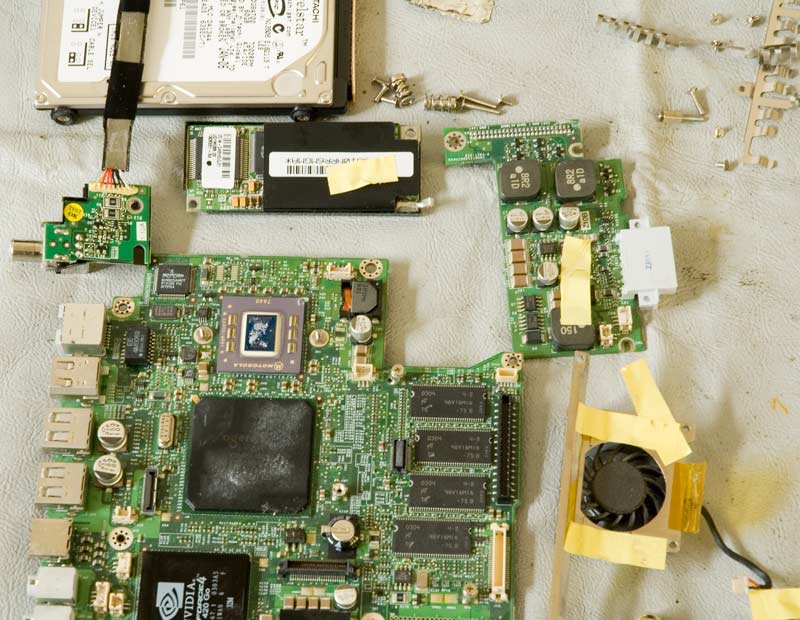
The list of hardware you will need to build a computer step by step will include the following: PC tower case, CD/DVD drive, hard drive, processor, motherboard, CPU heat sink and fan, memory modules, graphics card, mouse and keyboard, monitor, drive cables, screws, and power cords.
Motherboard Related Components
Here’s what you need to do to build a computer step by step. The first step in the assembly process is to install all the components that are related to the function and specifications of your motherboard. This includes the video/graphics card, memory modules, hard drive, CD/DVD drives, processor, CPU fan and heat sink, PC tower case, and the power supply.
The first step is to remove the PC tower case cover and lay the case on its side. The metal back plate should be facing up. Next, install the power supply (PSU) screwing it on its designated section in the tower case. The fan should be facing out and the wires facing inward. Make sure that it’s set to the correct voltage for your country.
Place the motherboard on an antistatic surface and then install the processor followed by the heat sink and fan. You may squirt a small amount of cooling compound on the CPU before mounting the heat sink. Mount the motherboard into the case and secure it with screws. Plug the two power leads from the power supply onto the motherboard.
Mount the memory modules on the slot provided for on the motherboard. The clips on both ends of the slot should secure and hold them in place. Plug the case wires for the front panel. This includes wires for the power button, reset button, LED lights, and front panel sound and USB ports if any.
The next step is to install the hard drive and the CD/DVD drive. Attach the drive cables from the motherboard to both drives. Attach power leads from the power supply to both drives as well.
Next, install the video/graphics card into its designated slot. Older motherboards have AGP slots while others are compatible with PCI express cards. You will be required to break the metal shield on the PC tower case in the designated space for the graphics card. Now you can close the tower and secure the cover with screws.
Non-Motherboard Related Components
The next steps require you to install components that are not related to the motherboard. Plug the mouse, keyboard, and video cable from the monitor to the blue colored port of the video card sticking out at the back. Plug the power cords for both the computer tower and the monitor. Press the power button and commence with the installation of the operating system. These are the things you need to do to build a computer step by step.


