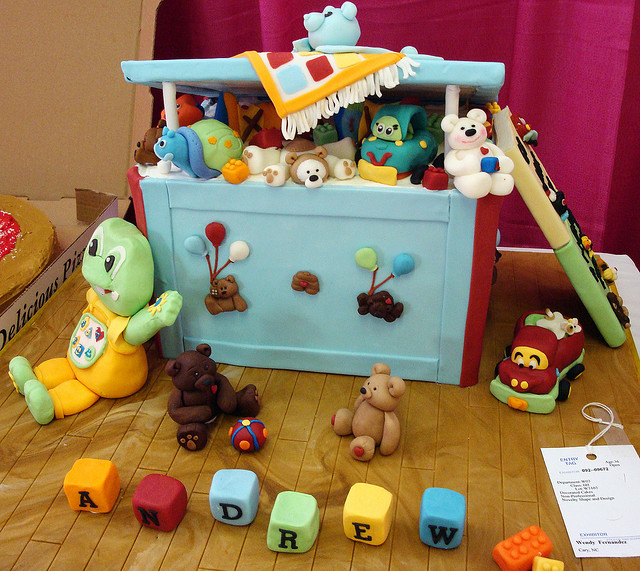
What could be a better gift for a young kid than a toy box full of toys? By knowing how to build a toy box, you’ll be able to save money on the costs of buying one.
Required Tools and Materials
Wood boards
¾ inch thick plywood
Saw
Hinges
Hammer
Nails
Stencils
Drill
Wood putty
Screws
Paintbrushes
Sketch design
Paint
Safety hinges (3)
Primer
Sander
Toys
Draw a sketch of the toy box you are going to use. There are computer programs that can help you do this. Specify the dimensions so you will know how many wood boards are needed. This box measures 2 ft high by 3 ft long by 18 inches wide.
Step 2
Using the ¾ inch thick plywood, cut two planks measuring 36 x 24 inches. These will constitute the front and rear of the box. For the bottom part, cut a wood board measuring 36 x 16 ½ inches. The toy box top should measure 36 x 18 inches. The box sides should measure 22 ½ x 16 ½ inches when you build a toy box.
Step 3
Set the bottom board on the floor. Screw the front board to it. Use at least half a dozen screws. Join the back wood board using the same number of screws.
Step 4
Place one of the side boards between the front and rear wood boards. Fasten 4 screws at the front, bottom and back. Fasten it to the box. Get the other side board. Fasten it the same way.
Step 5
Fasten a couple of hinges on the corners of the toy box. Each hinge should be three inches off the corner. Put another hinge in the middle. Secure the lid on the box. Fasten it to the rear with the screws.
Step 6
Check the box and apply the wood putty where it is needed. Give the wood putty time to dry.
Step 7
When the putty is dry, sand the toy box. Sand the edges and corners until they are smooth. Be very thorough when sanding.
Step 8
Once the box is finished, you can paint it. Before you paint, put on a layer of primer. Apply the paint. Use as many colors as you like. Once the paint is dry, the box can be used. If you don’t want to use paint you can apply spray paint instead. Use the paintbrush to scrawl the child’s name on it. Put toys in the box.
Before you build a toy box, be sure the workplace is uncluttered so you don’t lose any of the screws. It must also be well ventilated so you can paint comfortably.