Leaks in the basement can be very messy. It usually causes the presence of standing water inside the house, which often leads to development of mildew and mold. Together with the problem about leakage is cracking, which when started at the foundation can work its way up to the upper parts of the home. Be able to solve these problems by learning how to repair basement leaks.
Materials Needed
Before you can successfully fix leakage in the basement, prepare first a set of all-important materials like cement, sand and a trowel. Together with these items, bring in a bucket as well, which you will need later on to hold the patching mixture. Additionally, you must have a sandblaster, a stiff brush and sandpaper. Lastly, bring in waterproofing compound, a sprayer nozzle and a garden hose.
Steps
Get the sandpaper and then use it to smoothen out the surface of the inner walls of the basement. The purpose of this step is to remove paint and other impurities present, which can often cause the waterproofing and patching compounds not to stick properly on the walls. To put it simply, paint acts as an obstruction between these important compounds and the walls.
Survey the walls and then search for cracks and other possible causes of leaks. Mark each one of them. Be sure to exhaust everything and never leave out anything to solve the problem completely. Prepare the bucket and then pour two parts sand and one part cement inside. Pour water slowly and then mix thoroughly until you achieve a mortar with a texture just like stiff paste.
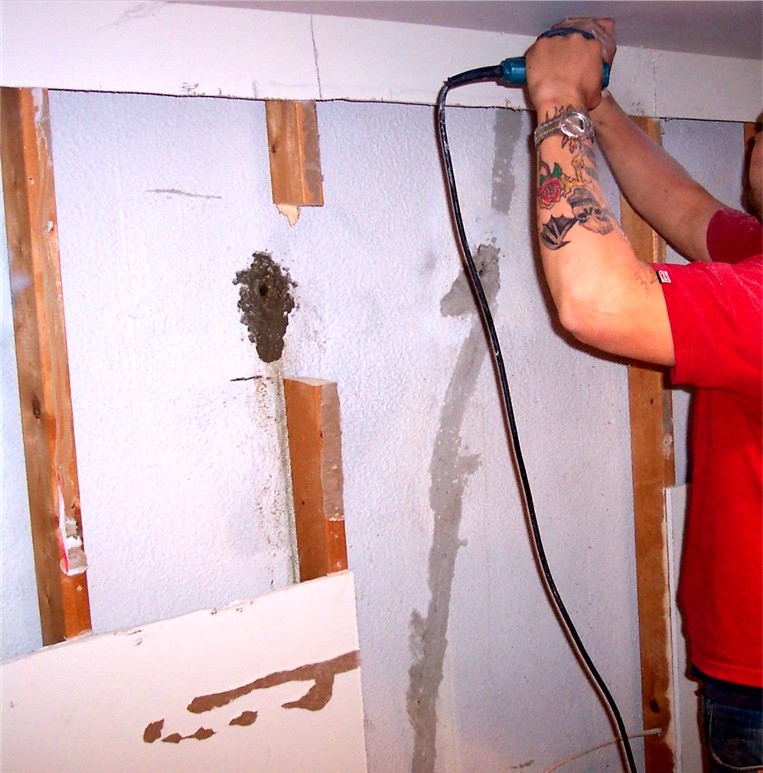
Slowly apply a thin layer of the cement and sand mortar on each hole or crack that you have marked earlier. To apply the mixture properly, get the trowel and then use its flat side to fill every hole and crack. All damages must be fixed to prevent these problems from recurring. After filling every hole, apply at least 2 inches more of the mixture. Do this to each crack and hole. Leave the mixture to dry up for at least one day.
Get the garden hose with a sprayer nozzle and then spray water on the walls. Although they should be damp, never leave water droplets. Get the bucket once again and then mix the waterproofing mixture. Carefully follow the directions as stated in the packaging until it acquires a slightly thick slurry texture. Use this mixture on areas that show signs of leaking. Use a circular motion when applying beginning at the bottom all the way up.
Wait for the mixture to dry up and then spray water once again all over the repaired areas. After this, allow the walls to rest for at least a day. Dampen the walls once again but without the presence of dripping water. Put a second coat of waterproofing mixture and then wait for at least another day to dry.