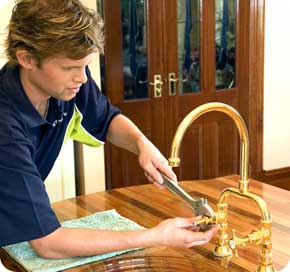
If you have a dripping faucet or leaking tap then it can mean either of two things. First is that you may have a washer that just needs to be replaced. The second is a bit worse since it may be that your valve seating is damaged and will need some repairs. Take note that if ever you find that the leak is at the nozzle then you just need to change your washers. We’ll walk you through the steps to repair a leaking tap.
Remove Your Tap’s Headgear
The first step to repair a leaking tap is to turn off the water at the service valve. You don’t want to take the faucet off and spew out a lot of water. Be sure to turn the tap on fully as you shut the water off from the service valve and put the plug into the drain hole.
The next step is to unscrew the spindle off your tap, which will eventually expose what is called the retaining screw. Check if you will need a Philips or a flat head screw driver for the retaining screw. Remove the retaining screw and you’ll have your tap’s head removed. This will work with non-rising spindles, which means you’ll use a different method for a rising spindle type of tap.
If you are dealing with a rising spindle type of tap then your first move is to pry off the index disc located at the center of your tap’s handle. Now you can view the retaining screw and take it off. Remove the metal shroud off the headgear using an adjustable spanner. Next, remove the headgear nut using your adjustable spanner. If the nut proves to be a tough one to turn use penetrating oil. Now you can proceed to replacing your tap washer.
Replacing Your Washer
One of the ways you can repair a leaking tap is by replacing the washer. With the headgear removed you can take the washer off. You need to remove the nut that holds the washer down. Once that is taken off you can pry off the washer and replace it with a new one.
Repairing the Valve
Once you have the washer removed you may easily proceed to inspect the valve. This is a necessary step to repair a leaking tap. Inspect the valve seat and check for any form of damage. If the seal of the valve seat is damaged, then replacing the washer will do very little to get rid of the leak.
If that is the case you will have to purchase a washer seating set. You can get one in any hardware store. It will usually come with a part that fits into your broken valve seat and is sold with a washer and a jumper valve. The entire set will fit into your tap’s headgear. The last step to repair a leaking tap is to reassemble your tap until you fit everything back in place. Once everything is installed you have to give it a few days for the seating set to get reseated smoothly.


