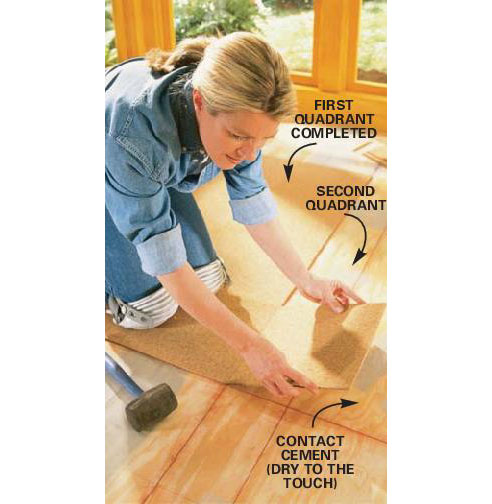
Cork floor is a special type of flooring considered environmentally friendly. This kind of material is harvested from cork oak tree, which commonly grows in countries like Italy, Portugal and Spain. It is safe, healthy and comfortable to use. This particular type of material contains a waxy substance, which helps protect against unwanted elements such as mites, molds and insects. In case of damage, it is very good to learn how to fix cork flooring.
Materials Needed
Because of the tricky nature of cork, fixing a cork floor can be challenging task. Amongst the many different materials needed for this job, be sure to bring in an electric floor sander, a pencil and a pry bar. Aside from these, you must also have a vacuum cleaner, 100-grit sandpaper and 60-grit sandpaper. It is also necessary to bring a 4-inch exterior paintbrush with soft bristles, a tack cloth and polyurethane. Of course, do not forget the wool pad, hammer and finishing nails.
Steps
Get the pry bar and then use it to take out the baseboards. It is important to mark each of them with a number to determine where they are placed in the room. You can use the pencil for marking each of these boards. Attach the 60-grit sanding pad to the electric floor sander and then use it to sand the floor. Because cork floor is naturally soft, it is important to keep the sander moving in order to avoid damaging the tiles.
After this, remove the 60-grit sanding pad and the replace it with the 100-grit pad. The surface of the cork must be smooth. However, it is important to limit the sanding process to prevent damage to the tiles. When this is over, get the vacuum and then clean the entire floor thoroughly. All the debris and dust must be removed. For the remaining residues, you can use a tack cloth. A smooth finish can be achieved when the floor is clean before doing the following steps.
Use the brush to apply polyurethane on the floor. Begin at the side that is farthest from the exit point of the house and then slowly move your way towards it. After performing overlap strokes on the entire floor, leave it for about 12 hours to dry. Fit a 00-grade wool pad right into the electric floor sander. Sand the floor in the lightest way possible to remove imperfections completely. Wipe the floor with a tack cloth once again.
Brush a second layer of polyurethane. Allow it to dry once more and then add another layer until the desired finish is achieved. Re-install the baseboards in the same order as they were removed earlier. Use heavy-duty adhesive for this important step.


