Wooden floorboards tend to dry out and shrink with the passage of time, causing gaps to form between them; the movements of the loose boards eventually resulting in squeaking floors. In figuring out how to fix squeaky floors, it all comes down to filling in these gaps and holding the floorboards securely in place.
To get rid of floor squeaks, one should first verify the source of the problem. Inspect the cross bracing lying between the floor joists. If the bracing is loose, screw or nail it back on. Also, one should install shims (angled wooden pieces) above the floor joists and under the subflooring or the floorboards. The shims should be tightly pushed in rather than pounded in so that the floor is not pushed up from underneath.
However, some consider installing shims as only a temporary solution, and instead advise to attach a wooden plank between the top of the joists and the subflooring’s bottom for stability. Another alternative is fastening the subflooring to the joists by driving extra screws at an angle from the joists and up to the subflooring. One may also install an extra 1 by 4 inch bracing between the joists. The bracing should be firmly attached into the subflooring with screws that are long enough to penetrate the subfloor, but not so much as to go straight through the floorboards.
Squeaky floors can also be caused by friction between floorboards and uneven subflooring sliding against each other. This problem can be remedied by applying a layer of either powdered graphite or talcum powder over the floorboards’ seams. One might prefer to use talcum powder, as working with graphite can get messy. The substance is then covered with a towel (either paper or cloth), stepping on the floorboards a number of times afterwards so that the substance is worked into the seams. The substance will serve as a lubricant to reduce the florboards’ friction, and consequently, the squeaking.
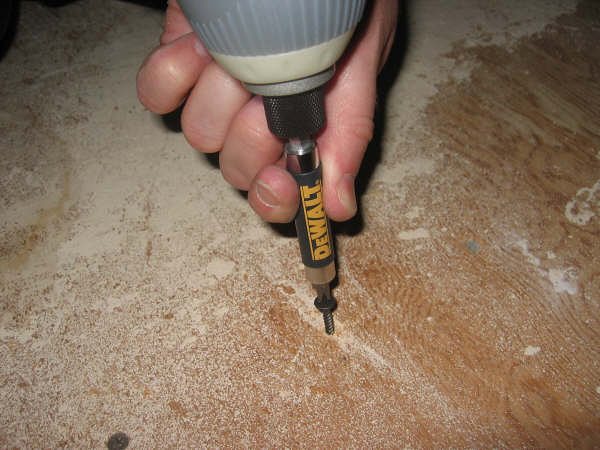
If the floor squeaking persists, perhaps the floorboards should be attached even firmly to the subflooring. Secure them with flooring nails (either 6d or 8d) installed half an inch from the floorboard’s edge and straight into the subflooring. To ensure that the floorboards don’t split while the nails are being installed, drill a hole beforehand measuring somewhat smaller than the nail shanks.
The nail heads should sink below the surface of the board and the hole should be patched with wood filler whose color matches that of the floorboards. On the other hand, one may opt to use small screws instead of nails, as screws tend to hold much better as time goes by. If such is the case, the screw heads should countersink below the surface of the floor and the hole likewise patched using wood filler.
To take care of squeaks under carpeted floors (if the carpet cannot be removed), a small hole will have to be cut into the carpet so that the squeaky floorboard can be accessed and the nail hammered below the flooring’s surface. One may also forego cutting a hole and just force the nail straight through the carpeting and into the flooring. Find the floor joists using a stud finder, and then pound the nails into the joists lying beneath.